 how-to
7 Steps to Fix a Small Roof Leak Around Chimney Flashing
Last Updated: November 1, 2026
Quick Summary
To fix a small roof leak around chimney flashing, first confirm the flashing is the real source with a low-pressure hose test, since masonry cracks and damaged chimney caps can cause similar stains. Then clean the area, reseal or replace damaged step and counterflashing, and confirm the shingles still lap over the flashing correctly.
- Five suspects produce similar stains, so confirm the source before buying materials.
- Spray the flashing first with a garden hose on low pressure, then the masonry, then the cap.
- Household caulk is the wrong product; use roof-rated sealant or roofing cement.
- Replace flashing when metal is rusted through or installed in the wrong overlap order.
- Call a professional for steep, wet, or soft roofs, or when the leak keeps returning.
Table of Contents
- How to Tell Flashing Is the Source of a Chimney Leak
- How Chimney Flashing Is Built and Where It Fails
- Safety Limits Before You Climb Onto the Roof
- Clean the Flashing and Find the Exact Leak Point
- Temporary Fix for a Leaking Roof Around a Chimney
- Choosing Sealant and Making a Lasting Flashing Repair
- Chimney Flashing Repair Cost and When to Call a Roofer
- Booking Your Flashing Inspection With Sound Roof Care
- Frequently Asked Questions
How to Tell Flashing Is the Source of a Chimney Leak
Chimney flashing is a common culprit in small leaks around chimneys, but it is not the only one. Before you buy a tube of sealant, confirm that the flashing is actually the problem.
Flashing is the metal or rubber strip that seals the gap where the chimney meets the roof. That is why a National Roofing Contractors Association guidance on chimney flashing approach always starts with inspection.
Rule out the other four suspects first
A chimney leak has five common sources, and they produce overlapping symptoms. Work through this checklist before you climb up:
- Flashing failure. Water stains appear near the chimney after wind-driven rain, and the stain grows along the chimney line rather than spreading across the whole ceiling. Look for cracked caulk, lifted metal, rust, or gaps at the masonry joint.
- Masonry cracks and bad mortar joints. Hairline cracks in the brick or crumbling mortar above the roofline let water into the chimney body. The tell: staining runs down the chimney chase and shows up lower on the wall, and the leak continues in a steady drizzle, not just wind-driven rain.
- Damaged chimney cap or crown. A cracked crown or a missing cap lets water straight into the flue. The tell: water appears in the firebox or drips down the flue, and the ceiling stain sits directly around the chimney rather than offset.
The two-person water test that isolates the source
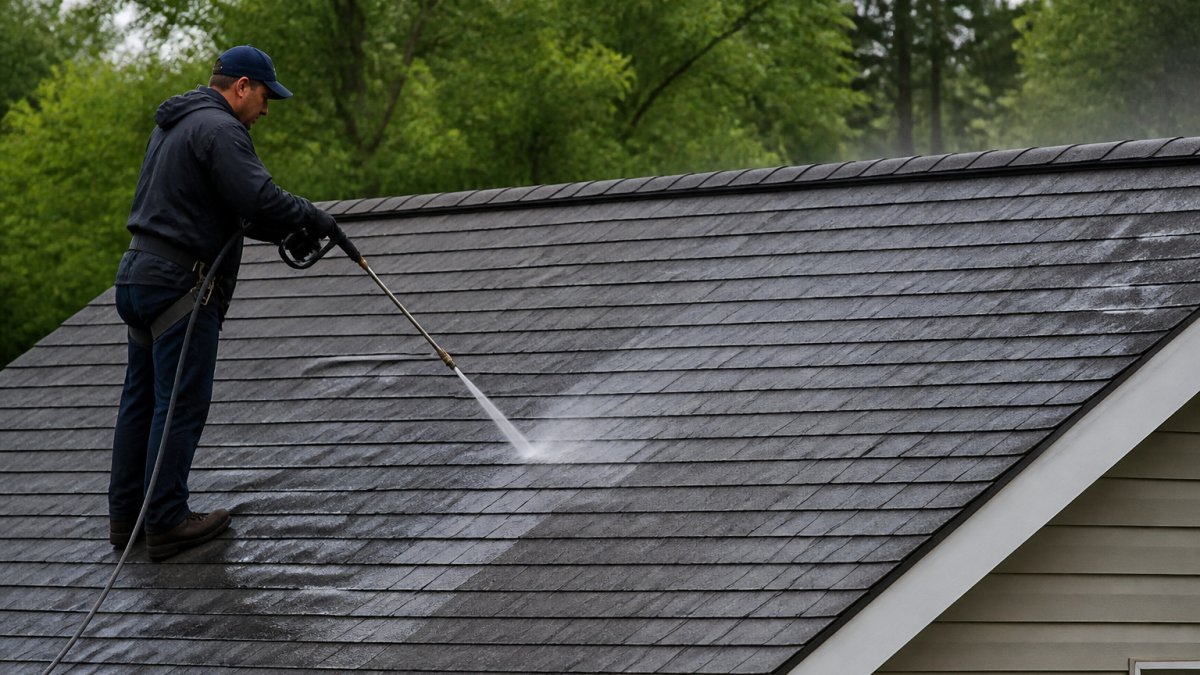
A low-pressure hose test is the fastest way to separate flashing from the other suspects. Have one person on the roof spray a garden hose on low pressure at the flashing edges, starting at the bottom and working up one side at a time.
- Spray only the flashing first. If water appears in the attic, the flashing is the source.
- If nothing shows, spray the masonry above the flashing. Water in the attic now points to a mortar or brick crack.
- If still nothing, spray the chimney cap and crown. Water in the firebox or flue points to the cap.
Wait a few minutes at each spot, water can travel several feet along a rafter before it drips. Mark the exact spot with chalk or tape so you can repair it after the test.
How Chimney Flashing Is Built and Where It Fails
Chimney flashing works in layers. Each layer sends water outward and down onto the roof surface, so water is kept from entering the house.
Step flashing, counterflashing, and where shingles overlap
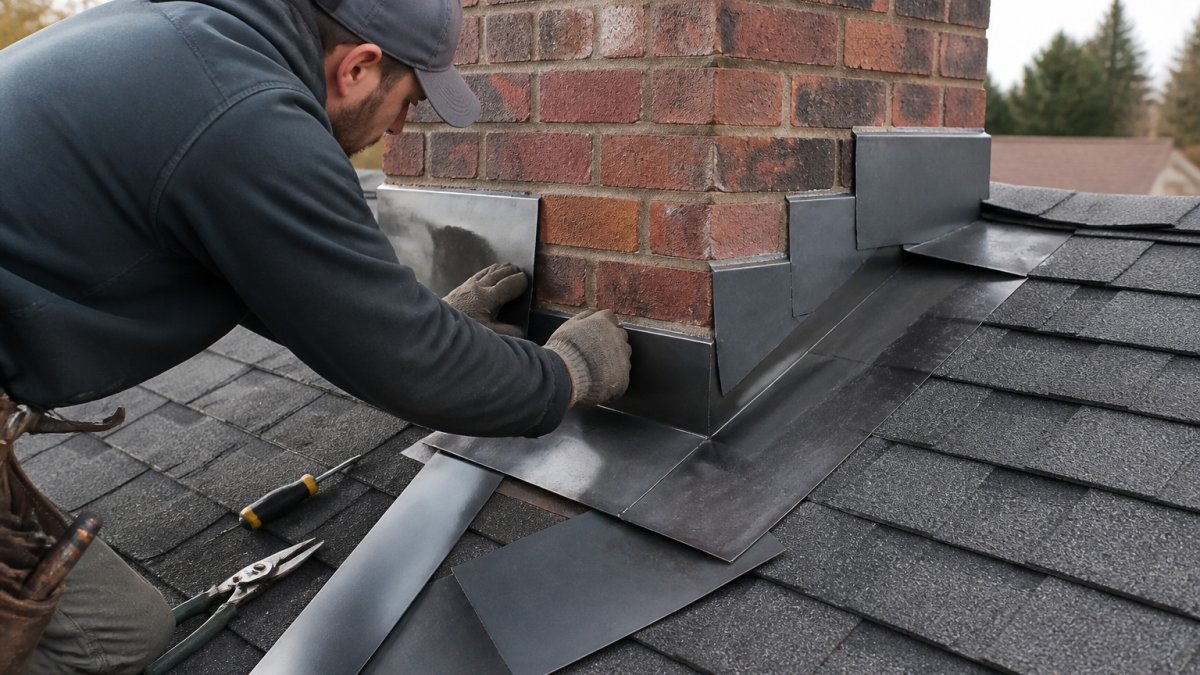
Step flashing is a series of small L-shaped metal pieces woven between the shingles along the sides of the chimney.
Shingles overlap the bottom of the flashing, so water runs over the shingles and off the roof. Does chimney flashing go under shingles? On the sides and bottom, yes, the shingles lap over the lower flashing. At the top and uphill sides, the counterflashing sits over the step flashing.
Common causes of leaks at the chimney
Most leaks trace back to a few failure points:
- Sealant that has cracked or dried out over time
- Lifted step flashing caused by thermal expansion
- Rust or corrosion on older metal pieces
Safety Limits Before You Climb Onto the Roof
Roof work is dangerous. Many homeowners underestimate how quickly a wet or steep roof turns hazardous.
Follow these limits:
- Only work on dry, calm days with no wind or rain forecast
- Do not climb a steep roof or one with soft, rotting decking
- Set the ladder on firm, level ground, extended at least three feet above the roof edge
- Keep three points of contact on the ladder at all times
Many roofing injuries come from simple falls off ladders. If any step feels unsafe, the job belongs to a licensed roofer.
Clean the Flashing and Find the Exact Leak Point
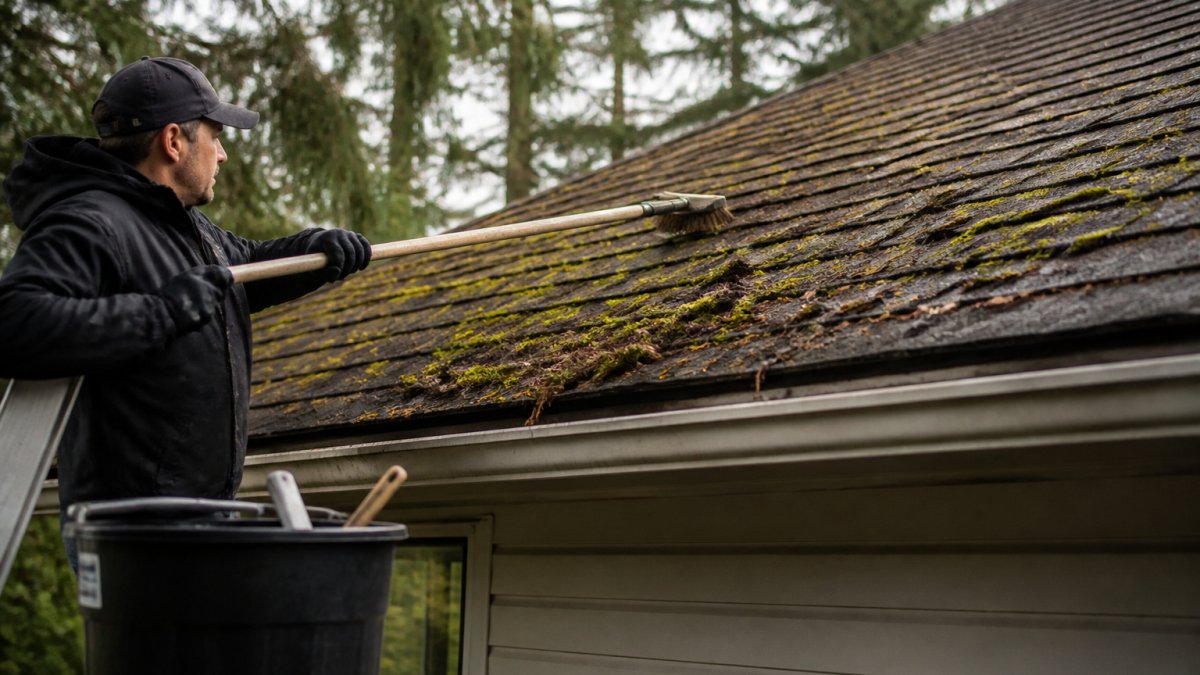
Once you are safely on the roof, clear away leaves, moss, and grit from around the chimney base. Debris hides cracks and holds water against the metal.
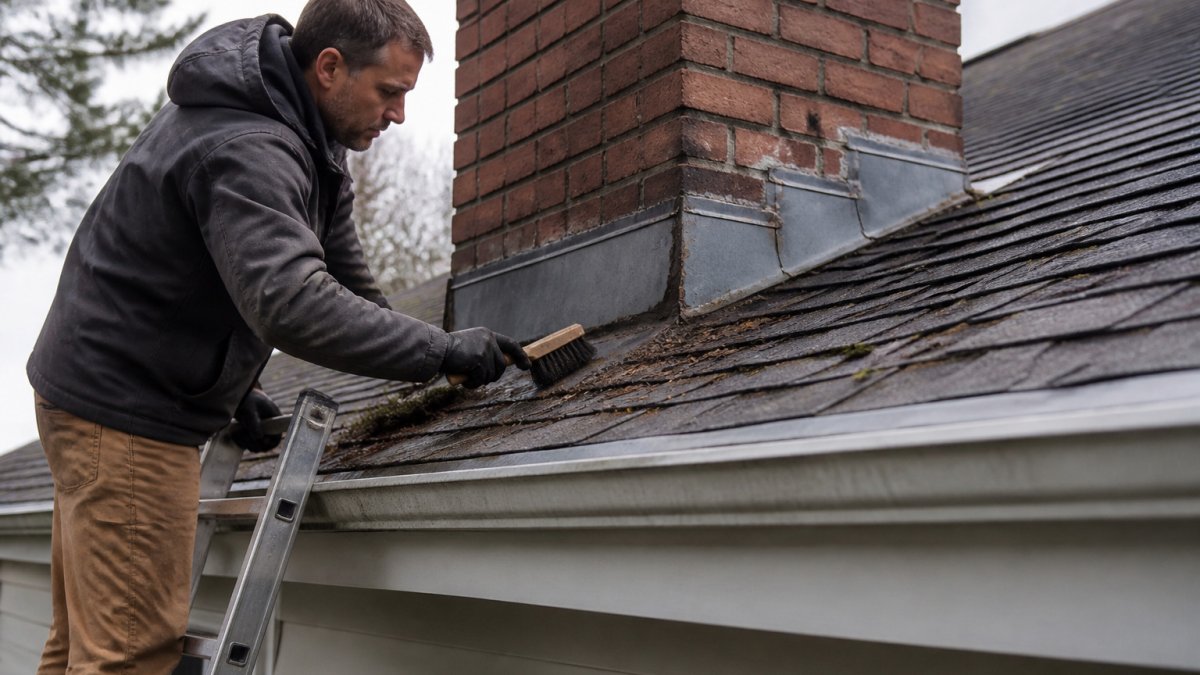
Next, locate the leak point. A low-pressure hose test works well. Have one person spray water with a garden hose on low pressure at the flashing edges, starting at the bottom and working up.
Mark the exact spot with chalk or tape so you can repair it after the test.
Temporary Fix for a Leaking Roof Around a Chimney
A temporary fix buys you time. It does not replace a proper repair.
For a quick seal, clean and dry the area, then apply roofing sealant or roofing cement along the cracked joint. Press a patch of roofing felt into wet sealant if the flashing has a gap.
Keep expectations realistic. Temporary patches can fail in heavy storms or when temperatures swing. Treat them as a stopgap, not a final solution.
Choosing Sealant and Making a Lasting Flashing Repair
Caulk and roofing sealant are useful for small cracks, but they are not a durable flashing repair. Sealant dries out, cracks, and peels when exposed to sun and freezing temperatures. The goal of this section is to help you pick the right material and decide whether a localized repair will hold or whether the flashing needs to come out.
Match the sealant to the material
Not every tube on the shelf belongs on a roof. Household caulk, painter's caulk, tub-and-tile silicone, latex window caulk, is the wrong product and will fail within a season.
- Roofing cement (plastic roofing cement). A trowel-grade asphalt product for patching small gaps and embedding fabric patches. Good for temporary and low-slope repairs; not a substitute for metal flashing.
- Polyurethane roofing sealant. Flexible, paintable, and rated for metal-to-masonry joints. A common choice for sealing the counterflashing-to-brick joint because it tolerates movement.
- Silicone roofing sealant. High UV and temperature resistance, but it does not accept paint and can be hard to remove later. Use where the joint will not be painted.
- Butyl tape and flashing tape. A peel-and-stick membrane for sealing under a lifted edge or around a fastener. Works best when pressed into a clean, dry surface.
Check the label for the substrates it lists, metal, masonry, asphalt shingles, and confirm compatibility with the existing flashing material. Applying silicone over an old asphalt patch, for example, often fails to bond.
Repair or replace: a simple decision tree
Use the severity of the damage to choose the repair:
- Temporary seal only. The flashing is intact, the leak is a single small crack at a joint, and rain is forecast before you can do a permanent repair. Clean, dry, apply roofing cement or polyurethane sealant, and cover with a tarp if needed. Plan the permanent fix within weeks.
- Localized repair. One step-flashing piece is lifted or one counterflashing section has pulled out of the mortar, but the surrounding metal is sound. Reset or replace that piece, reseat the counterflashing in the mortar joint, and reseal the joint.
- Full flashing replacement. The metal is rusted through, bent out of shape, or was installed in the wrong order (shingles under the flashing instead of over it). Multiple leak points along the chimney also point to replacement. This is the only repair that restores the layered water path.
Steps for a lasting repair
- Remove loose or corroded flashing pieces
- Replace damaged step or counterflashing with matching metal
- Reset counterflashing into the mortar joints
- Reseal with a flexible, roof-rated sealant
A well-installed flashing system can last many years. Sealant alone usually cannot, and a repair that ignores the overlap order will leak again at the next hard storm.
Check the underlayment while you are in there
If you have opened up the flashing, look at the roofing felt or underlayment beneath it. Torn or missing underlayment near the chimney is a secondary water path that sealant will not fix. Replace damaged sections before you close the flashing back up.
The article compares the main sealant types and matches each to a repair situation.
| Product | Best for | Key difference |
|---|---|---|
| Roofing cement | Temporary and low-slope repairs | Trowel-grade asphalt for small gaps |
| Polyurethane roofing sealant | Metal-to-masonry joints | Flexible, paintable, tolerates movement |
| Silicone roofing sealant | Joints that will not be painted | High UV resistance, does not accept paint |
| Butyl tape and flashing tape | Under a lifted edge or around fasteners | Peel-and-stick membrane for clean, dry surfaces |
Chimney Flashing Repair Cost and When to Call a Roofer
Repair costs depend on quantity, scope, and site conditions. Check the Sound Roof Care website for current pricing, or request a quote for your specific roof.
Call a professional when:
- The leak is large or keeps returning after a repair
- The flashing is badly rusted or bent out of shape
- The roof is steep, wet, or has soft decking
- You see water damage inside the attic or walls
Booking Your Flashing Inspection With Sound Roof Care
If the leak is still active or you have found damage you cannot fix safely, schedule a professional inspection. Sound Roof Care has been serving the Puget Sound since 2009, with certified technicians who focus on lasting repairs for Pacific Northwest roofs.
Get in touch today to book your flashing inspection.
Frequently Asked Questions
Does chimney flashing go under shingles?
Yes. On a correctly installed chimney, step flashing is woven between shingle courses so each shingle overlaps the flashing below it, shedding water downslope. The upper leg of the flashing is set into the masonry joints, and counterflashing is often cut into the mortar and laid over the base flashing. Because water runs over the shingles and onto the flashing, the shingles must sit on top of the flashing, not under it. If you find flashing exposed on top of the shingles, or shingles lifting over it, that layering is reversed and water can get behind the flashing. Checking this layering is one of the first things to do when diagnosing a leak at the chimney.
What is a temporary fix for a leaking roof around a chimney?
A temporary fix is a short-term measure to slow water entry until a proper repair is made. Once the area is dry, you can apply a patch of roofing sealant over a small crack or gap in the flashing edge and a thin bead along exposed seams. Use a sealant rated for roofing and labeled for metal or masonry. Keep it to small, accessible gaps. This is not a lasting repair: sealant cracks and lifts as the metal expands and contracts, so plan to replace or re-flash the area soon.
Can roofing cement stop a small leak around chimney flashing?
It can slow or stop a small leak caused by a minor gap or crack, but only as a stopgap. Roofing cement works best on small, dry, clean areas and should not be packed over wet metal or used to hide a flashing that has come loose or rusted through. A caulk-style sealant over a flashing that is failing will usually leak again within a season. Treat any sealant as temporary and inspect the flashing again after the next heavy rain.
When should you call a roofer for a chimney flashing leak?
Call a roofer if the flashing is bent, rusted through, pulled away from the masonry, or missing, if the leak is in more than one spot, or if you cannot safely reach the area. Also call if the roof is steep, wet, or high, or if the leak has already stained ceilings or damaged the attic. A roofer can re-flash the chimney correctly and check the underlying decking and shingle layering, which a surface sealant cannot fix.