 how-to
How to Stop a Roof Leak During Rain: Emergency Steps
Table of Contents
- Immediate Steps to Take When Your Roof Leaks in Heavy Rain
- How to Find a Roof Leak in the Attic Safely
- Containing the Water: Buckets, Tarps, and Valuables
- Temporary Roof Leak Patch Options for Different Materials
- Safety First: Why You Should Never Climb a Wet Roof
- When to Call a Roofer for a Leak
- Preventing Mold and Moisture Damage After the Rain Stops
- Frequently Asked Questions
Last Updated: September 16, 2026
Immediate Steps to Take When Your Roof Leaks in Heavy Rain
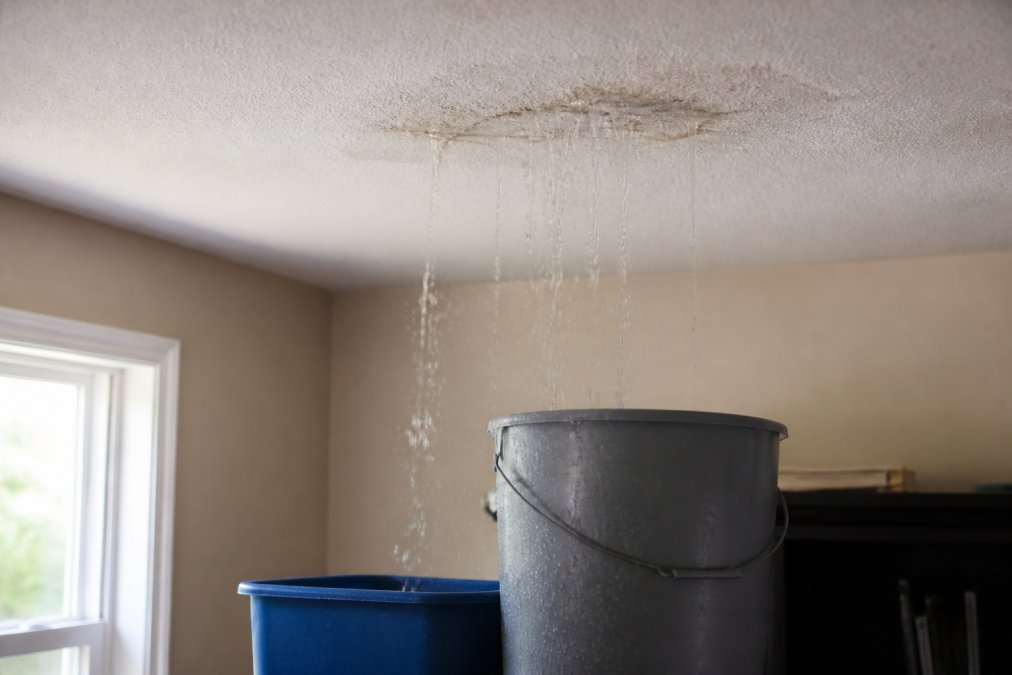
When water is coming through your ceiling, the first priority is containment, not repair. Move people and pets away from the leak, kill power to affected rooms at the breaker, and get a bucket underneath the drip before you do anything else. The urge to grab a ladder and climb up there is strong. Resist it.
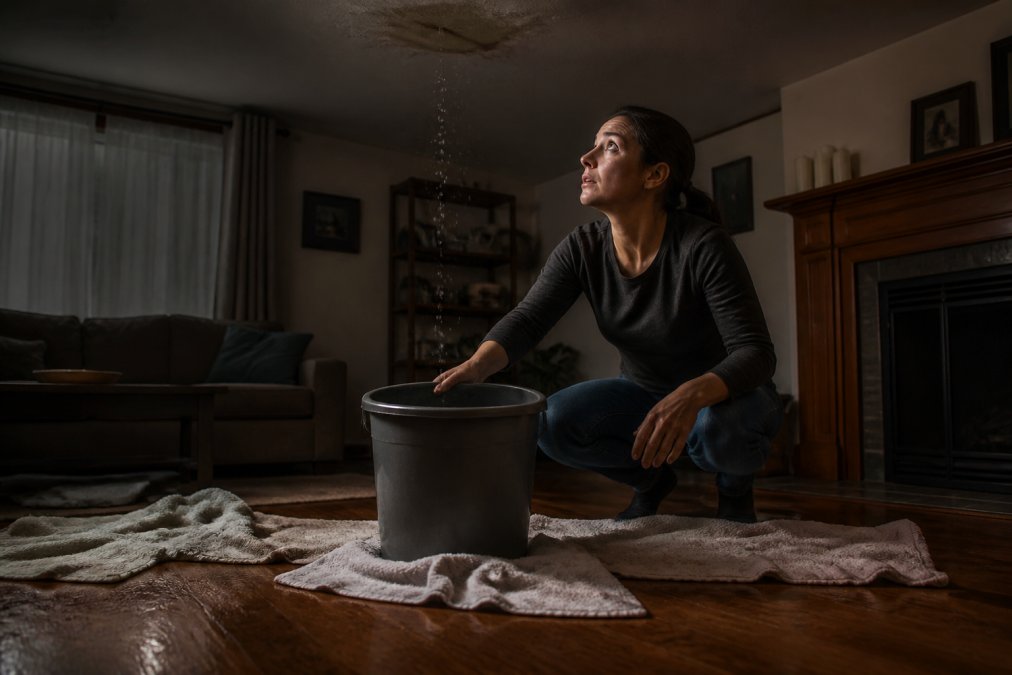
Here is your immediate sequence:
- Kill power to affected rooms at the breaker panel
- Place buckets, bins, or coolers under active drips
- Lay towels and plastic sheeting to protect flooring
- Move furniture, electronics, and valuables out of the zone
- Poke a small drain hole in any bulging ceiling paint
How to Find a Roof Leak in the Attic Safely
The attic is where you confirm what the ceiling already told you. Wait for a break in the rain if you can, then enter with a bright flashlight, a tarp, and a bucket. Never step between ceiling joists, where you will fall straight through the drywall.
Tracing Water Stains and Moisture Intrusion
Moisture intrusion follows the path of least resistance. Check around chimneys, vents, skylights, and valleys first, since those are the most common roof penetration points. A NRCA consumer roofing guidance notes that most residential leaks trace back to flashing failures rather than the shingles themselves. Mark the suspected entry point with chalk so you can show a roofing professional exactly where you saw the first sign of water.
Containing the Water: Buckets, Tarps, and Valuables
Water containment is a triage exercise. You are buying time, not solving the problem. Prioritize what cannot be replaced: electronics, documents, artwork, and upholstered furniture.
- Use large plastic bins or coolers for high-volume drips
- Hang a tarp or shower curtain liner to divert water into a tub
- Pull electronics off the floor and unplug anything near the drip zone
- Slide plastic sheeting under furniture legs to prevent water pooling beneath
Temporary Roof Leak Patch Options for Different Materials
A temporary roof leak patch is a stopgap, not a repair. The right material depends on what your roof is made of, and most emergency fixes fail if you use the wrong one.
Asphalt Shingles vs. Metal Roofing Fixes
For asphalt shingles, water-resistant tape and roofing cement pressed under a lifted shingle edge can slow an active leak. For metal roofing, a butyl-based sealant along the roof seam or around fasteners works better because tape does not bond well to metal in wet conditions.
| Roof Material | Emergency Fix | Best For | Limitation |
|---|---|---|---|
| Asphalt shingle | Water-resistant tape + roofing cement | Small punctures, lifted edges | Fails in standing water |
| Metal roofing | Butyl sealant at seams | Fastener leaks, panel seams | Needs a dry-ish surface |
| Flat membrane | Peel-and-stick patch | Blister or tear repair | Poor adhesion when soaked |
Safety First: Why You Should Never Climb a Wet Roof
Climbing a wet roof is the single most dangerous thing a homeowner can do during a storm. Wet shingles, metal panels, and moss-covered surfaces offer almost no traction, and a fall from roof height is often fatal. No leak is worth that risk.
When to Call a Roofer for a Leak
Call a roofer when water is entering faster than you can contain it, when the leak is near electrical fixtures, or when you cannot identify the source after a safe attic inspection. Those three conditions mean the problem exceeds what a homeowner should handle alone.
Documenting Damage for Your Insurance Claim
Insurance claim documentation is where most homeowners lose money. Adjusters work from what you can prove, not what you remember, and a claim filed with vague photos and no timeline is the fastest route to a low settlement or a denial. Before you clean anything up, build a file.
- An overall shot of the room showing the leak's position relative to walls, windows, and outlets
- A mid-range shot of the ceiling stain or bulge with a tape measure or coin in frame for scale
- Close-ups of the stain edge, any cracking or bubbling paint, and the drip point
- Every damaged item individually, plus a wide shot of the items grouped together
- The attic side, if you can safely reach it, wet insulation, stained rafters, and rusted nail heads are the evidence that ties the interior damage to a roof defect
Preventing Mold and Moisture Damage After the Rain Stops
Mold prevention starts the moment the rain ends, and the clock is short. Mold spores are already present in most homes; they only need moisture, a food source (drywall paper, wood framing, insulation), and roughly 24 to 48 hours of damp conditions to colonize. The goal after a leak is to get every affected material below about 20 percent moisture content before that window closes.
The first 24 hours
- Stop the source. Confirm the roof is no longer leaking before you dry anything, running a dehumidifier under an active drip wastes the effort.
- Increase airflow across wet surfaces. Open windows if outdoor humidity is low, and place box fans so they blow across the wet drywall or framing, not directly into the ceiling cavity. Air movement at the surface is what drives evaporation.
- Run a dehumidifier, not just a fan. A fan moves moisture into the air; a dehumidifier removes it. In a closed room, run the dehumidifier continuously and empty the reservoir or route the drain hose to a sink. Most residential units pull several pints per day, so expect to empty it often.
- Pull back wet insulation. Fiberglass and cellulose insulation that has been soaked rarely dries fully in place and holds moisture against the framing. Remove and discard the wet section, then replace it after the cavity is dry.
- Check the attic. If the leak came through the ceiling, moisture almost certainly reached the attic side. Poor attic ventilation traps that moisture against the roof deck, where it feeds rot and mold on the underside of the sheathing.
The 48-hour to one-week window
- Monitor with a moisture meter. An inexpensive pin-type meter lets you confirm when drywall and framing have dropped below the threshold where mold grows. Test the same spots daily and log the readings.
- Watch for the warning signs. A musty, earthy odor, dark speckling along drywall seams or ceiling corners, and paint that feels soft or chalky are early indicators that moisture is still trapped.
- Do not paint over it. Sealing a damp stain with primer traps moisture and hides the problem. Dry first, then treat, then paint.
- Replace, don't dry, porous materials. Ceiling tiles, carpet padding, and soaked drywall that has begun to sag or crumble are not worth saving. Removal is faster and safer than drying.
When to bring in a professional
If the affected area is larger than roughly a few square feet, if the leak recurred, or if you smell mustiness more than a few days after drying, call a professional. Remediation crews use commercial-grade dehumidifiers, air movers, and moisture mapping that homeowner equipment cannot match, and they can confirm whether the roof deck or framing needs repair.
Frequently Asked Questions
Can you fix a leaking roof while it's raining?
You can stop a roof leak during rain with temporary fixes like water-resistant tape, sealant, or an emergency tarp, but permanent repairs require dry conditions. Focus on water containment inside and only apply temporary patches if it is safe to reach the area from the ground or a window. Never climb onto a wet roof, as the risk of falling is too high. Call a roofing professional once the storm passes to assess the damage and make lasting repairs.
How do you find the source of a roof leak from inside the attic?
To find a roof leak in the attic, wait for daylight or use a bright flashlight, then look for water stains, dark spots, or dripping water on the underside of the roof deck. Follow the path of water runoff backward to the highest point of moisture, which is usually near a roof penetration, flashing, or damaged shingle. Check around vents, chimneys, and skylights. If you cannot locate the source, a professional can perform a leak detection inspection using moisture meters and hose testing.
Is it normal for a roof to leak in heavy rain?
No, a roof should not leak in heavy rain. While intense storms can expose existing weaknesses, a properly maintained roof is designed to shed water. Leaks during heavy rain often indicate shingle damage, failing flashing, clogged gutters, or deteriorated underlayment. In the Pacific Northwest, moss growth and constant moisture can accelerate these problems. If your roof leaks in heavy rain, schedule a roofing inspection to identify and fix the underlying issue before it causes structural damage or mold.
When should you call a professional for a roof leak?
Call a roofer for a leak when you cannot safely access the leak source, when water is pooling near electrical fixtures, or when the leak is widespread. If you have applied a temporary roof leak patch and water still enters, or if the ceiling is bulging, it is time for professional help. A roofing contractor can perform a full inspection, document damage for insurance, and make permanent repairs. For leaks in Pierce, King, Thurston, Lewis, and Mason counties, reach out to a local certified technician promptly.
A roof leak during a storm tests your patience and your home at the same time. The right response is calm containment now, a safe inspection when the weather clears, and a professional repair before the next system rolls in. Sound Roof Care has protected homes across the Puget Sound region since 2009 with certified technicians, transparent pricing, and long-term solutions built for this climate. Get in touch today to schedule your roof inspection and stop the next leak before it starts.